The next step is to finish setting up the data folder.
| 1. | Go to the PhonePad folder on your server and run DBConnect. |
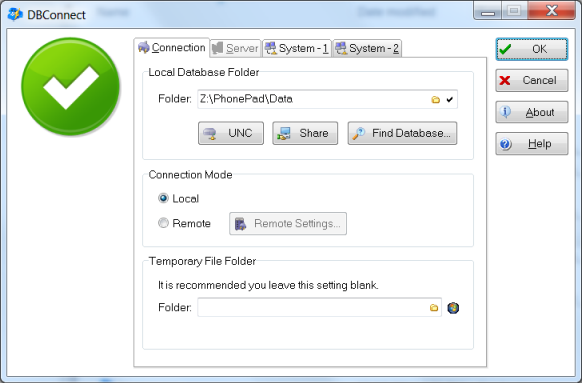
| 2. | The Local Database Folder setting should display the PhonePad data folder created by DBUpdate in Part 3. If not, you will need to select it by clicking on the |
| 3. | If all users use the same drive mapping to the network drive and folder, then you can leave the Local Database Folder as is. In our example, the network drive and folder is Z:\PhonePad\Data. |
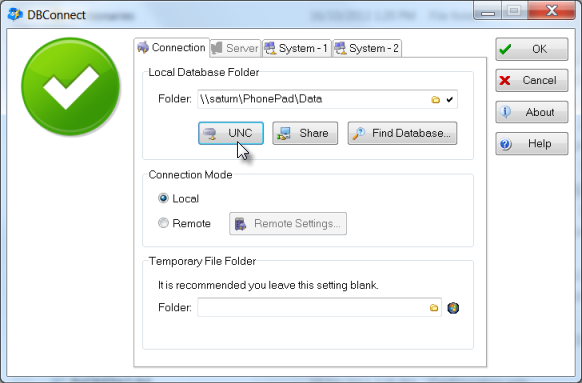
| 4. | If users map the drive differently then you will have problems. For example, say Mary has the drive mapped as Z: but Andrew has the drive mapped as Y:. Andrew will get errors when trying to run PhonePad because his workstation won't be able to find Z:\PhonePad\Data. It knows the path as Y:/PhonePad/Data. To get around this problem you can set the Local Data Folder up as a UNC path. That way, it won't matter what drive letters users use. |
| 5. | Click the UNC button to convert the Local Database Folder setting to a UNC path. This is preferable to using a map drive letter because the drive letter can vary from workstation to workstation, causing connection issues. By the way, the UNC button only works when you are doing this from a workstation. |
| 6. | Click OK to save the settings. Clicking Cancel will cancel any changes you have made. |