User accounts are managed in the PhonePad Admin module. In the PhonePad folder, you should be able to see the PhonePad Admin icon.
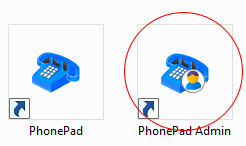
| 1. | Run PhonePad Admin. |
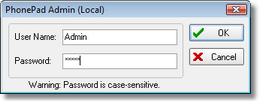
| 2. | When PhonePad was installed, it automatically created a default administrator account for you. Login to PhonePad Admin using this account - Username: Admin, Password: admin. |
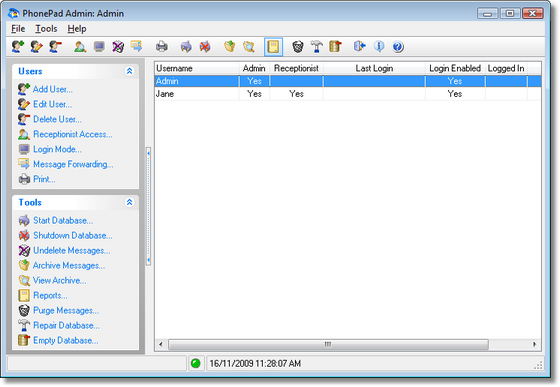
| 3. | PhonePad Admin's main screen should be displayed. |
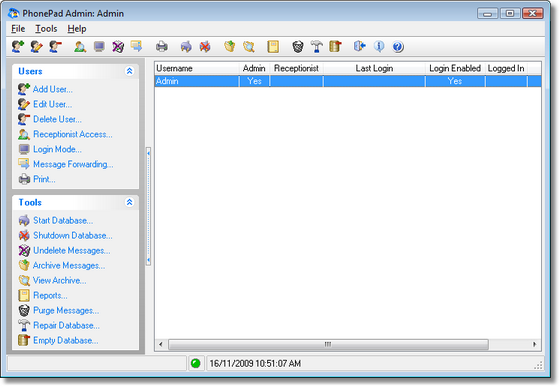
| 4. | At this stage there will be only one user account - the default administrator account. Let's create another. |
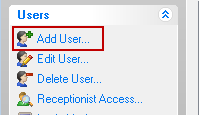
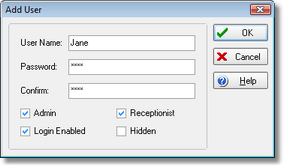
| 5. | Click Add User. |
| 6. | We'll enter some details for our user. The User Name is the name they will use when logging in. |

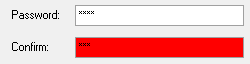
| 7. | You'll notice that the password is masked - this is for security reasons. Instead of displaying the letters you enter, it displays an asterix in place of each letter. Because you can't see the password to visually confirm you entered it correctly, you need to enter it in a second time to verify that the password you entered is what you intended to enter. When the two passwords match, the confirm edit box will change to white. |
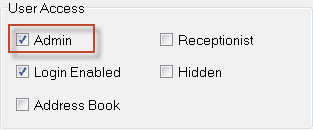
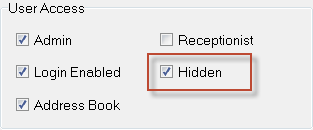
| 8. | If we want this user to be a PhonePad administrator, we check the Admin checkbox. This means they will be able to login to PhonePad Admin and perform administrative functions. If you don't want to give the user administrator access this leave the checkbox unchecked. |
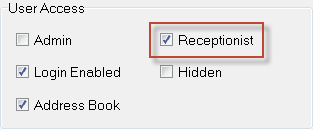
| 9. | Checking the Receptionist checkbox will enable "Receptionist Mode" for the user and give them access to the Inboxes of other user accounts (there is another step you have to do which is covered in Part 6 of these instructions). In this example, we are going to check the Receptionist checkbox so we can see how it works in Part 6, |
| 10. | The Login Enabled checkbox should normally be checked, unless you don't want the user to login. |
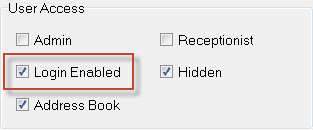
| 11. | When checked, the Hidden checkbox hides the user account from the user and recipient lists that you use for addressing phone and text messages. For example, you may want to hide the default Admin account so other users can't send message to it. |
| 12. | When you have entered all of the relevant details, click OK. |
| 13. | That's it. The user is now listed in the user list. Repeat these steps for each user you want to add. It may seem like a few steps but it's actually quite quick to do, and you don't really have to do it that often. |
Let's move on to Part 6 and see what this Receptionist stuff is all about.