Now that you've selected where you want to install PhonePad, it's time to do the actual installation.
| 1. | Run the PhonePad installation program (PHONEPAD4SETUP.EXE) that you downloaded from the website. |
| 2. | The installation wizard should start. |

| 3. | Click Next to continue. |
| 4. | The License Agreement will be displayed. Once you are ready to proceed select I accept the agreement and click Next. |
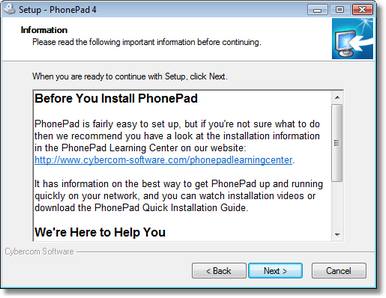
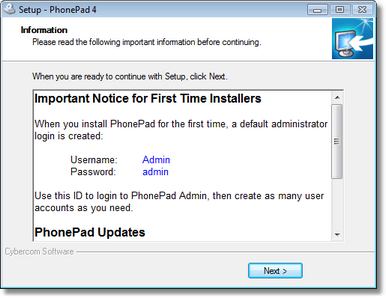
| 5. | The Information screen will be displayed. Click Next. |
| 6. | The Select Destination Location screen will prompt you to specify where you want PhonePad installed. This is the location you decided on in Part 1. This is where you enter or select the folder you want PhonePad installed on your shared drive. In the example below, we have entered D:\PhonePad as the destination location. |
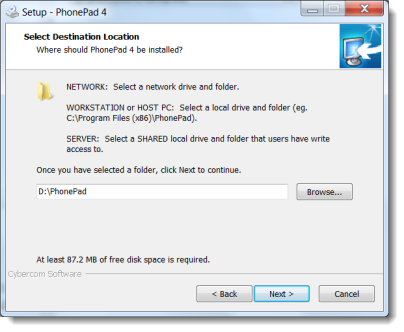
| 7. | Enter the location you decided on and click Next. |
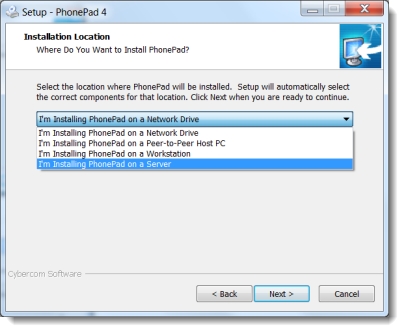
| 8. | On the Select Components screen, select I'm Installing PhonePad on a Server from the drop-down list, then click Next. |
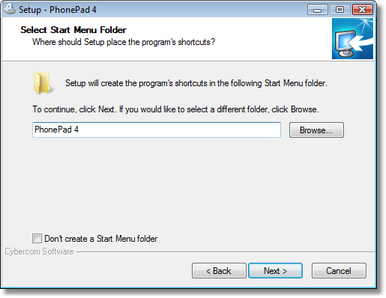
| 9. | You have the option of specifying a Start Menu Folder, or you can just accept the default setting. Click Next when you're ready to continue. |
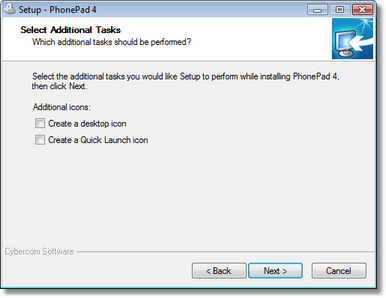
| 10. | When prompted to add desktop and Quick Launch icons, unselect these as we will use a different method to set these up. Click Next. |
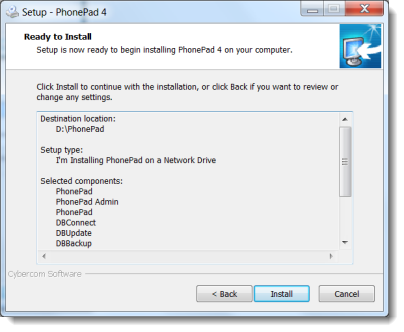
| 11. | You are now ready to install PhonePad. Click the Install button. |
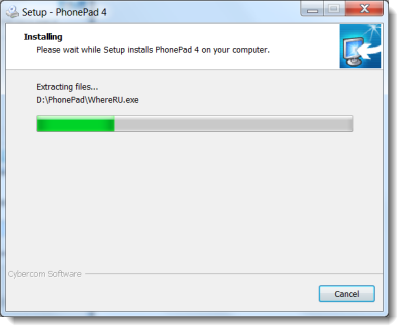
| 12. | PhonePad will be installed on your network drive. |
| 13. | Once the installation has been completed, an Information screen will be displayed. Read the information and then click Next to continue. |
| 14. | The final screen of the wizard will be displayed. It's important that the Run DBUpdate Wizard option is checked. Click Finish. |

We are now ready to proceed to the next step.
Problems with DBUpdate?
If you click Finish and get an error message similar to this "Create Process Failed; Code 740 the requested process required elevation", it's Windows reporting that it is unable to run DBUpdate due to current user access settings. This is usually caused by over-restrictive Windows User Access Control settings and can even occur if you have administrator access.
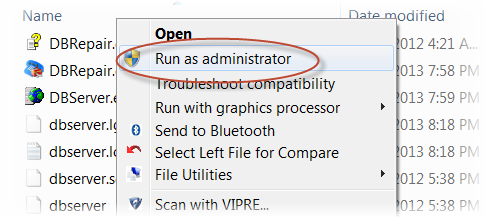
To get around this, navigate to the PhonePad folder, right-click on DBUpdate.exe, and select Run as Administrator from the popup menu. Then follow the steps in Part 3 - Creating Your PhonePad Database.
