Now that a Host computer has been selected, it's time to do the installation. These steps are done on the Host computer.
| 1. | Run the PhonePad installation program (PHONEPAD4SETUP.EXE) that you downloaded from the website. |
| 2. | The installation wizard should start. |
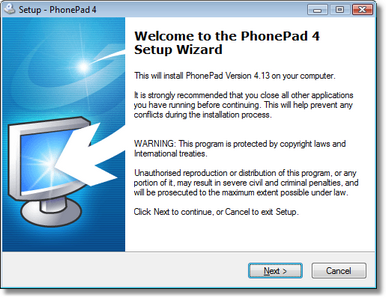
| 3. | Click Next to continue. |
| 4. | The License Agreement will be displayed. Once you are ready to proceed select I accept the agreement and click Next. |
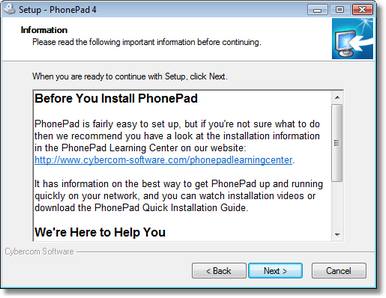
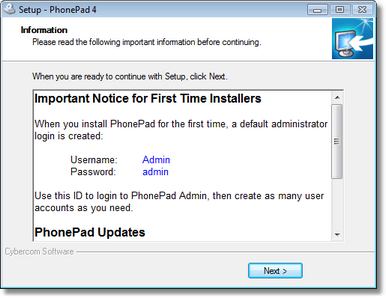
| 5. | The Information screen will be displayed. Click Next. |
| 6. | The Select Destination Location screen will prompt you to specify where you want PhonePad installed. This is the location you decided on in Part 1. This is where you enter or select the folder you want PhonePad installed in on your shared drive. In the example below, we have used the default location (C:\Program Files\PhonePad). |
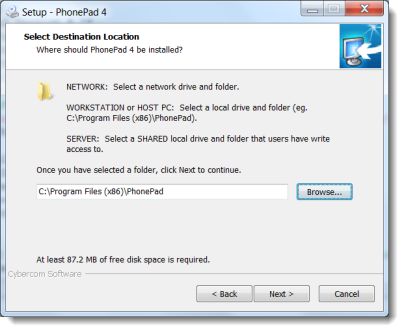
| 7. | Enter the location you decided on and click Next. |
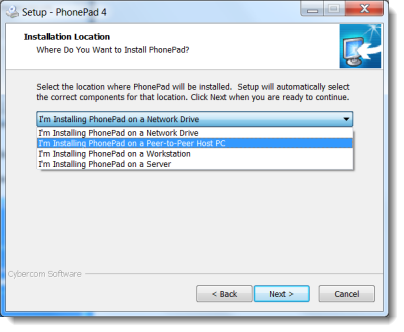
| 8. | On the Select Components screen, select Peer-to-Peer Host from the drop-down list, then click Next. |
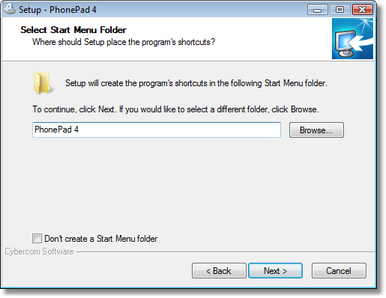
| 9. | You have the option of specifying a Start Menu Folder, or you can just accept the default setting. Click Next when you're ready to continue. |
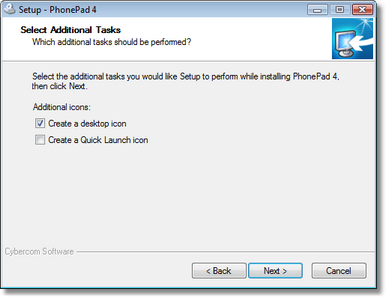
| 10. | This screen allows you to automatically create desktop and Quick Launch icons for PhonePad. Once you have selected the options you want click Next. |
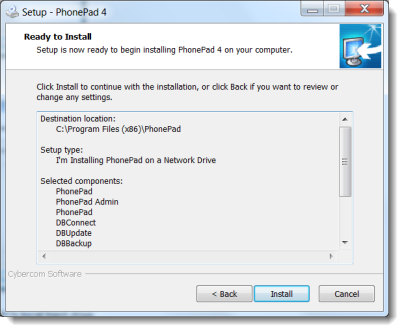
| 11. | You are now ready to install PhonePad. Click the Install button. |
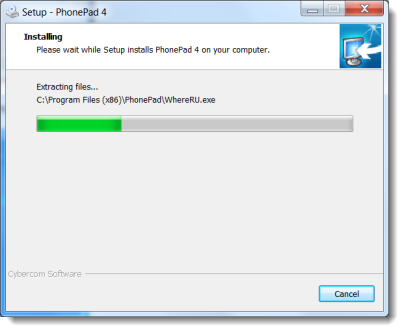
| 12. | PhonePad will be installed on the Host PC's local hard drive. |
| 13. | Once the installation has been completed, an Information screen will be displayed. Read the information and then click Next to continue. |
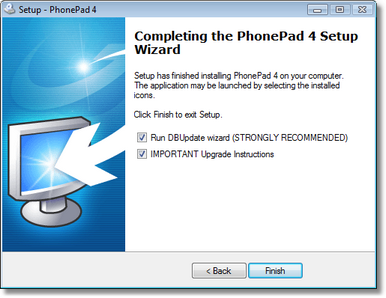
| 14. | The final screen of the wizard will be displayed. It's important that the Run DBUpdate Wizard option is checked. Click Finish. |
We are now ready to proceed to the next step.