Now that PhonePad has been installed on your Host computer, we need to create your PhonePad database. The database is where all of your messages will be stored, as well as caller information, users, etc. It's an important and vital piece of your PhonePad installation.
We recommend you create your PhonePad database in a sub-folder below your PhonePad folder. The default name is DATA, but you can name it anything you like.
Let's create the database now.
If the Run DBUpdate Wizard checkbox was checked in the last step of Part 2, the DBUpdate program should have automatically started when you clicked the Finish button. If you can't see it on your screen then check the Windows taskbar as it may be minimized. If the Run DBUpdate Wizard checkbox wasn't checked then you will need to run it manually. It is located in the PhonePad folder.
| 1. | When the DBUpdate wizard appears, click Next to get started. |

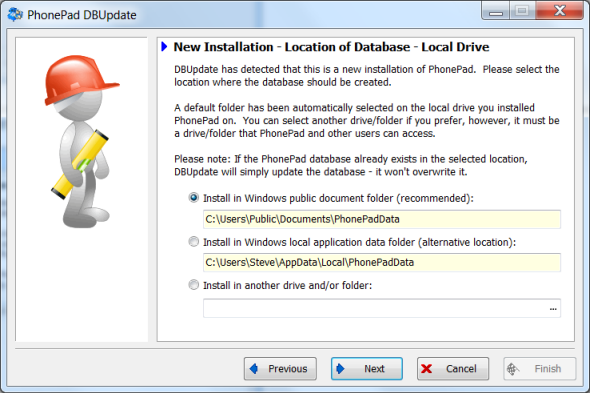
| 2. | You will be prompted to select a location for the PhonePad data folder (directory). It's recommended you accept the default - Install in Windows public document folder. Later on, we're going to make sure this folder is shared so all users can access it. Click Next to continue. |
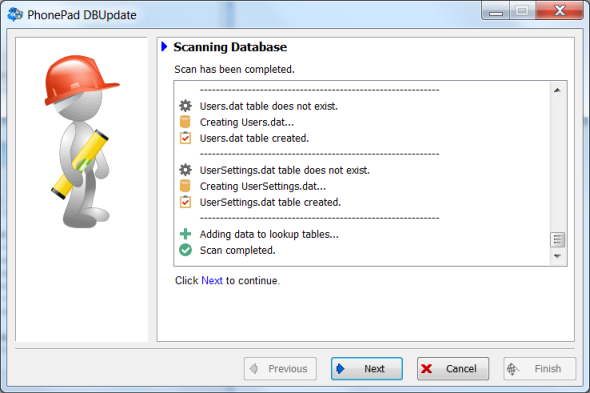
| 3. | DBUpdate will create the data folder and then create the PhonePad database. This should only take a few seconds. Click Next when it has finished. |
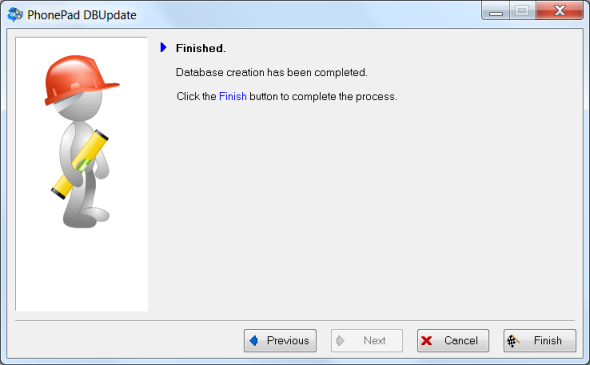
| 4. | Click Finish to close DBUpdate. |
|
Important Note About Access Rights
All PhonePad users will require a minimum of read and write access to the PhonePad data folder.
|